Drying Sage for backpacking
Sage is a integral part of my cooking spices and I always miss having it around when backpacking. Drying sage and taking it with you backpacking is easy and fast. Follow along with the steps to upgrade backpacking recipes!
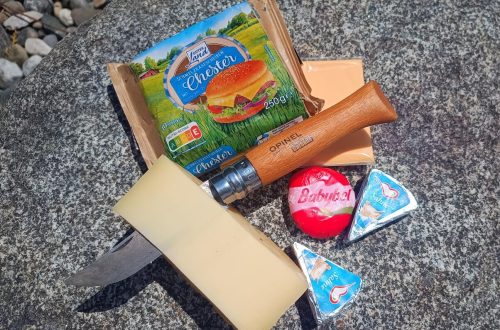
Equipment list
- Pairing knife
- Bowl
- Cutting board
- Dehydrator, oven or summer sun.
- Sage
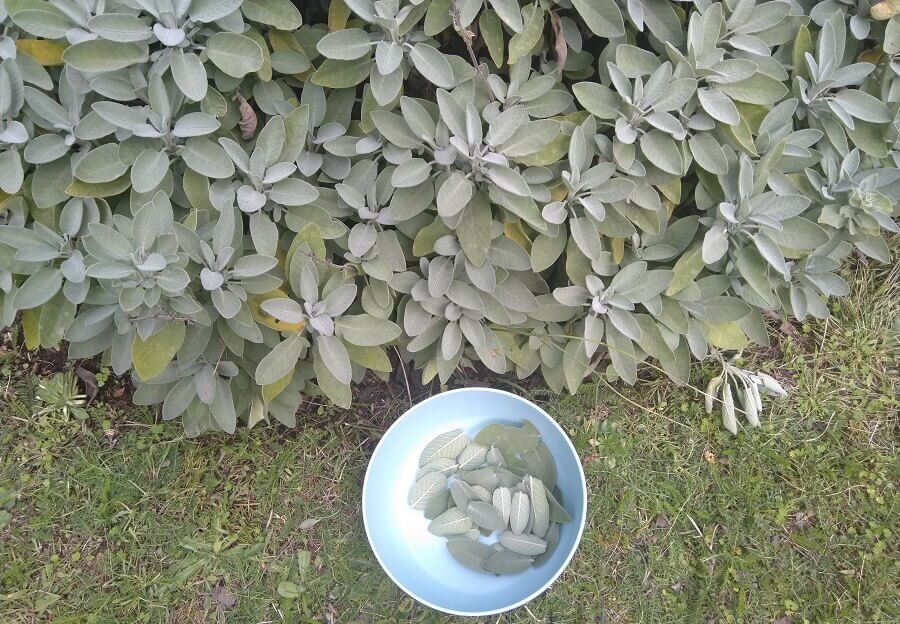
Step 1, pick the sage
For backpacking and hiking I like to pick only the younger and greener leaves. For drying at home picking the whole twig is more commonplace. But when out backpacking and hiking this is not needed as your only using the leaves.
I am fortunate enough to have a garden with a huge sage bush in it that has been growing for around 8 years. When picking from a sage bush always try to only pick a few leaves per branch. As not to damage the plant to much.
Step 2, process the sage for drying
When processing the sage I always wash them a bit beforehand. But if this is really necessary I’m not sure. But it does get some of the bugs of it which is better. After the washing you can chuck them into the dehydrator or oven and be done with it.
But I like to take one more step, and that is to cut the stems out before drying. I saves a bit of extra material, space and weight for backpacking. And the stem always gets a bit woody in the dehydrator.
With backpacking and hiking recipes its best to avoid stuff that has to cook longer. This sage after you finish can be thrown on anything after the cooking. Without hard bits in it.
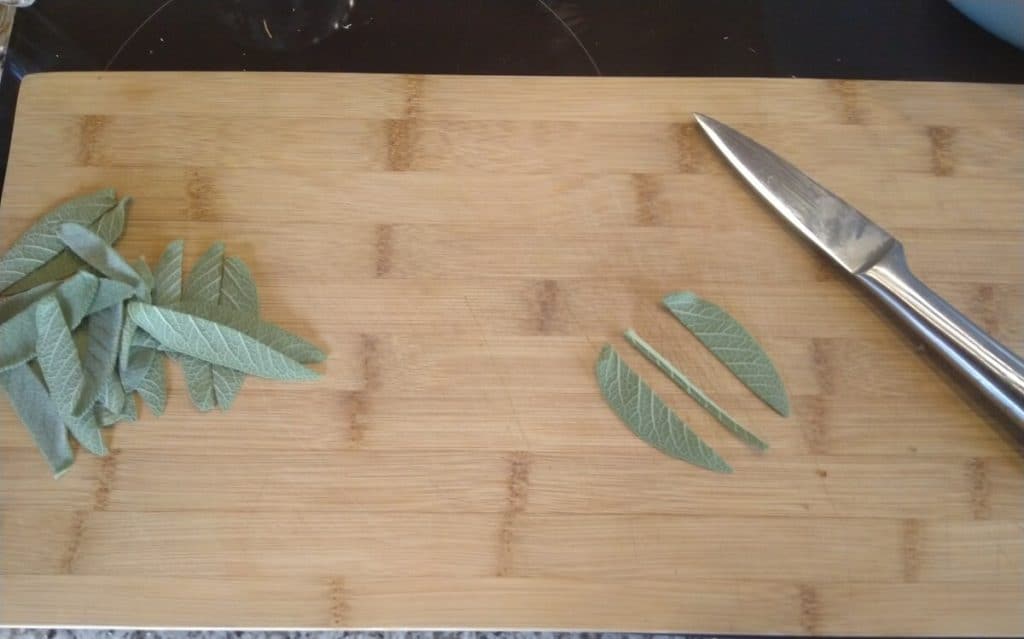
With a sharp paring knife from the kitchen you run along the stem to separate it from the leaf. I suggest you put some music on, because this can take some time to process.
Step 3, Drying the sage in a dehydrator
When you go on regular hiking and backpacking trips a dehydrator is a worthwhile investment. Making your own backpacking food and spices is a fun activity and you know what you put in your food.
Same can not be said from ready bought freeze dried meals and MRE’s. They often end up on second hand sites like craigslist and can be had for cheap.
In a dehydrator tray spread out the leaves evenly and turn the dehydrator on to dry it. It will take a couple of hours. For my dehydrator it takes about 5 hours. For herbs and spices I always have it on the first heat setting. Slow and low is the key with herbs. Else you risk burning them and not drying them.

If you do not have a dehydrator you can always use your oven on a very low setting. 50 degrees Celsius also does the trick. And if you want to go old school this is a nice project for summer to dry it in the sun.
Step 4, package and take the Sage for your next hike!
Dried Sage is delicious to spice up a soup or stew and can be used on a lot of backpacking food. When taking sage with you out backpacking its important to keep it dry. What else than a trusty Ziploc bag for this task?
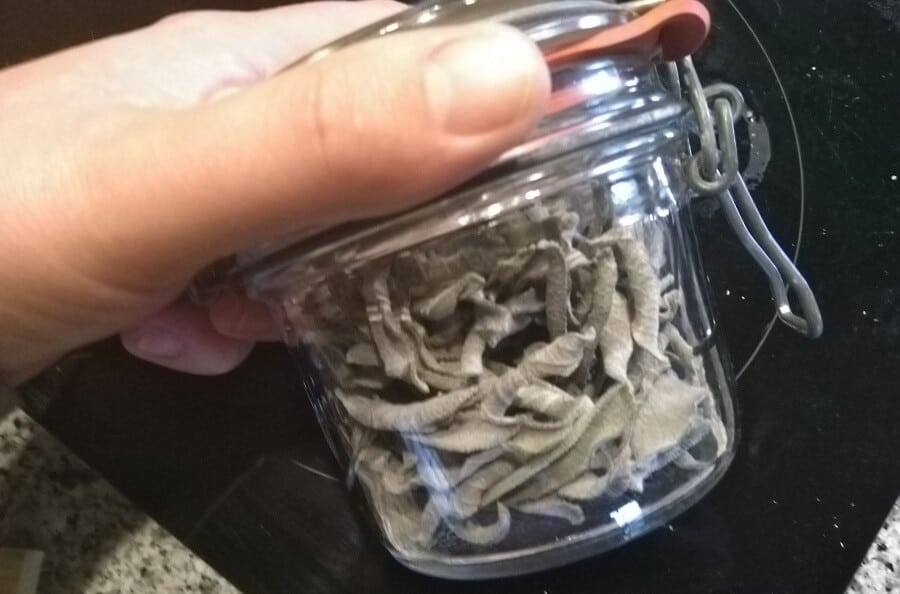
If your carrying a spice kit you can also use that, mixing sage thyme and oregano is also a great mix to carry around. For a little more heat you can add in some chili flakes.
Sage Tea
Tea is always something I bring with me hiking, there is something about having a nice cup of hot tea while laying in your sleeping bag. Sage tea is an acquired taste. But if you try it out and like it, I would suggest besides using the sage as a seasoning to put on a cup of tea with it. You will be amazed how good it can taste.
To make a cup op tea with the dried sage leaves take out a couple of leaves and let it steep in water that has just come off the boil for 5 minutes or so. After letting it cool a little you can dig in to a nice cuppa.
Hike for purpose and make some amazing food while out backpacking and hiking!
Frank
I'm Frank, the main guy and owner of this website. Loves hiking, gear and bushcraft. And can get quite nerdy about them. In the woods several times a week preparing for my next hike. Always searching for another hill, which is quite difficult in the Netherlands. That's why I search around several countries. More about me on the about page.


You May Also Like
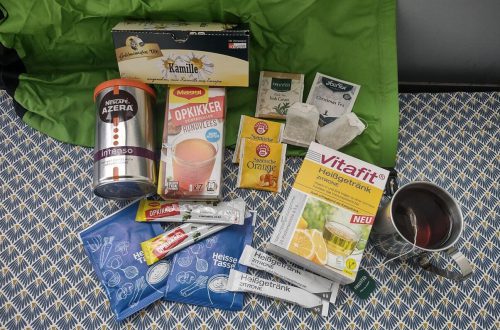
Hot drinks for Hiking
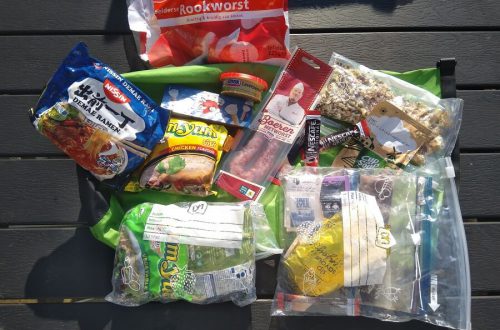
Trail meals for hiking and backpacking