
How to use an Alcohol Stove
Alcohol stoves are a great lightweight option for any hiker, using one requires some more attention than other options like gas or cartridge stoves. Here is how to effectively use Alcohol stoves on your next hike!
Using an alcohol stove can be done in many different ways according to the stove type, and can be boiled down to the following steps:
- Look for a flat spot on the ground to cook.
- Set up your windscreen and alcohol stove and test out stability with your cooking pot.
- Fill up your alcohol stove with the right amount of fuel for your needs.
- Light up the alcohol stove and start cooking.
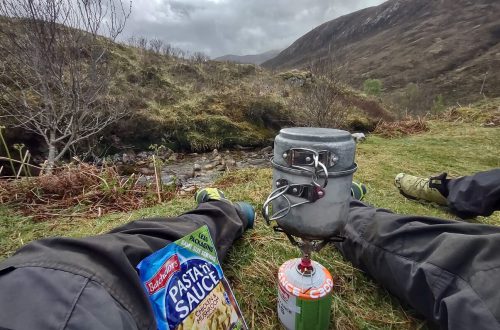
- Depending on what you’re cooking, transfer your cooking pot once boiling in a pot cozy to save on fuel.
- Sit back and wait for your food to rehydrate.
Alcohol stoves themselves come in many different configurations and types. They can be broken down into the following two main categories:
Commercial Alcohol stoves, Trangia, Vango, etc.
Homemade DIY alcohol stoves
And for all the different types they can be broken down into the following:
- Alcohol stoves with a wick
- Pressurized alcohol stoves that require preheating with a potstand
- Pressurized alcohol stoves that require preheating without a potstand
- Open-burning alcohol stoves
- Pressurized coil burning alcohol stoves
Depending on your needs and wishes for the alcohol stoves you will have the following to consider with alcohol stoves.
Quick jump guide
- Wind protection
- Lighting and flare-up
- Turning alcohol into gas and consistent burning
- Extinguishing and clean up
- Fuel storage and safety
- How to use an Alcohol stove in winter
Wind protection
Protection from the wind is incredibly important with Alcohol stoves, since most Alcohol stoves are not pressurized, and even ones that are, are not very good in windy conditions. Not only extinguishing the flame in most cases but also reducing the heat output to your cooking pot. And thus wasting more fuel to achieve the same cooking.
Windscreens can be easily made yourself with heavy-duty aluminum foil, or bought online and cut up to suit your specific needs. Trangia alcohol stoves are usually bought as a set, which has a built-in pot stand and a windscreen all in one. That makes it one of the most windproof alcohol stoves out there.
To make your own alcohol stove windscreen you can check out my separate article on that subject. And read more about alcohol stoves and windscreens in general.
Lighting and flare-up
How to light an alcohol stove is in most cases an easy thing to do. Put alcohol fuel in, light it up, and wait for it to fully flare-up. If you want to see that process in action you can do so with my short YouTube video I made about the Trangia stove.
The blooming up or flare-up process can take a few seconds or minutes depending on your alcohol stove. And is often the most tricky bit of the whole affair, where most hikers will say that alcohol stoves are more trouble than they are worth. Pressurized alcohol stoves are always required to flare up before you can do any meaningful cooking on them. And that process can require you to have a priming dish or fiberglass wick around your alcohol stove to achieve this. The popular Fancy Feast stove that has quickly become my favorite alcohol stove does not require priming and is therefore one of the easiest alcohol stoves to get into as a beginner.
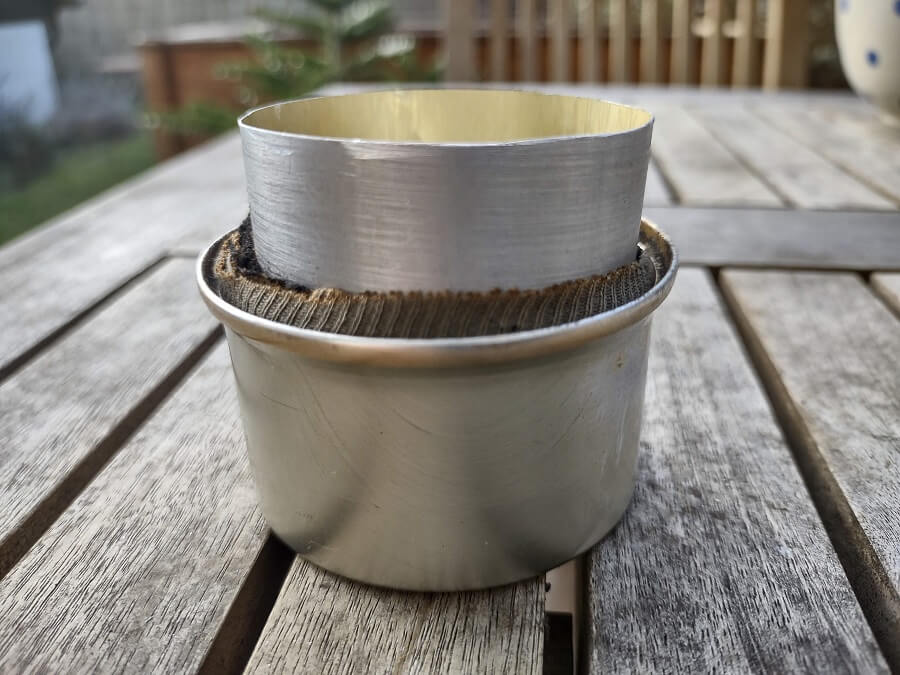
Fancy feast stove 2.0 pictured, click on the image to read the full article!
The priming of a pressurized pop can stove that has your cooking pot directly on top of it without a pot stand is notorious for going out when you place your cold cooking pot on it since it loses the pressure from the decline in temperature. So wait until you can see the flames coming out of the jets on the side or top. Before putting on your cooking pot.
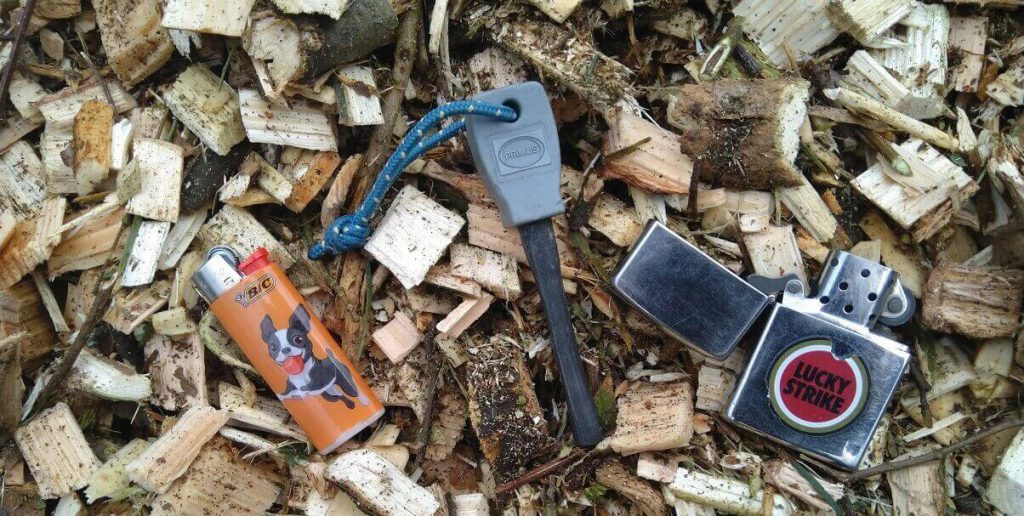
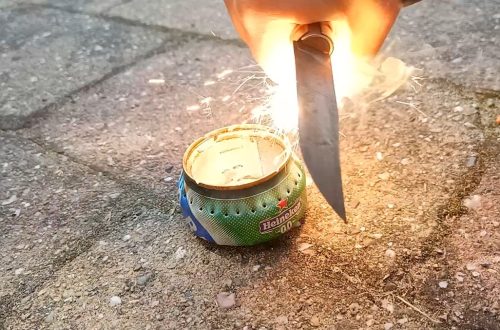
Lighting your Alcohol stoves I like to do with a regular bic mini, or magnesium fire rod /stick. Those launch a shower of sparks into the stove which ignites it. Be careful not to knock the stove over when doing this to close. Other ways are to use a match, or to use your lighter and a sprig of grass or twig that you dip into the alcohol stove first before lighting it.
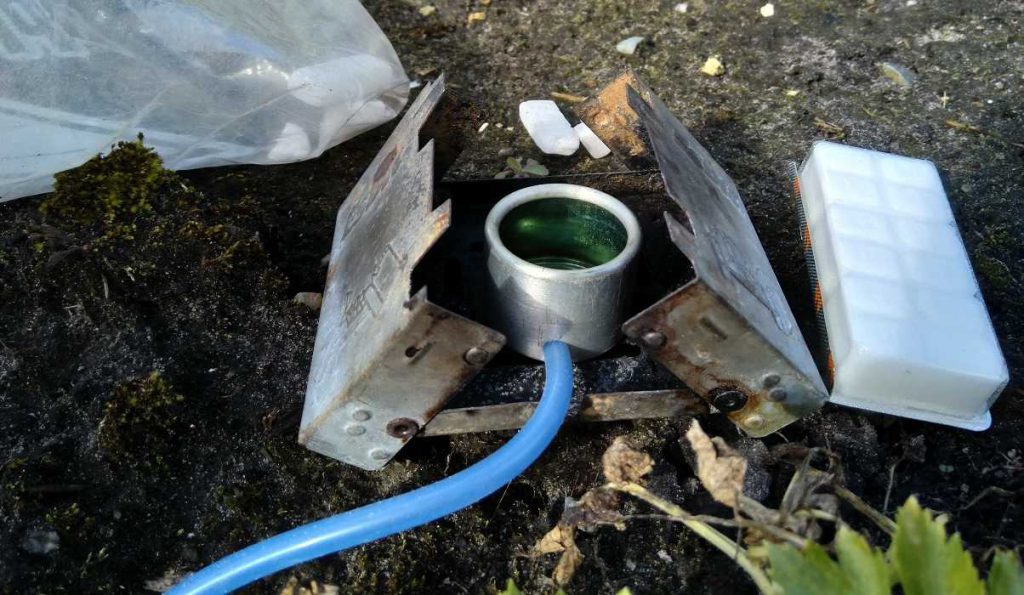
Alcohol stoves that require pre-lighting or priming with some alcohol fuel drizzled around them are the only exceptions. I would recommend getting or making an aluminum dish for priming where the alcohol can go without risking setting the ground on fire. An example that also gets used for these types of stoves is to use kevlar or fiberglass rope around the alcohol stove to prime it. I am not a huge fan of these types of alcohol stoves since they are a little fussier to light up on some occasions. And after a long hiking day, this may not be something that I’m into.
Turning alcohol into gas and consistent burning
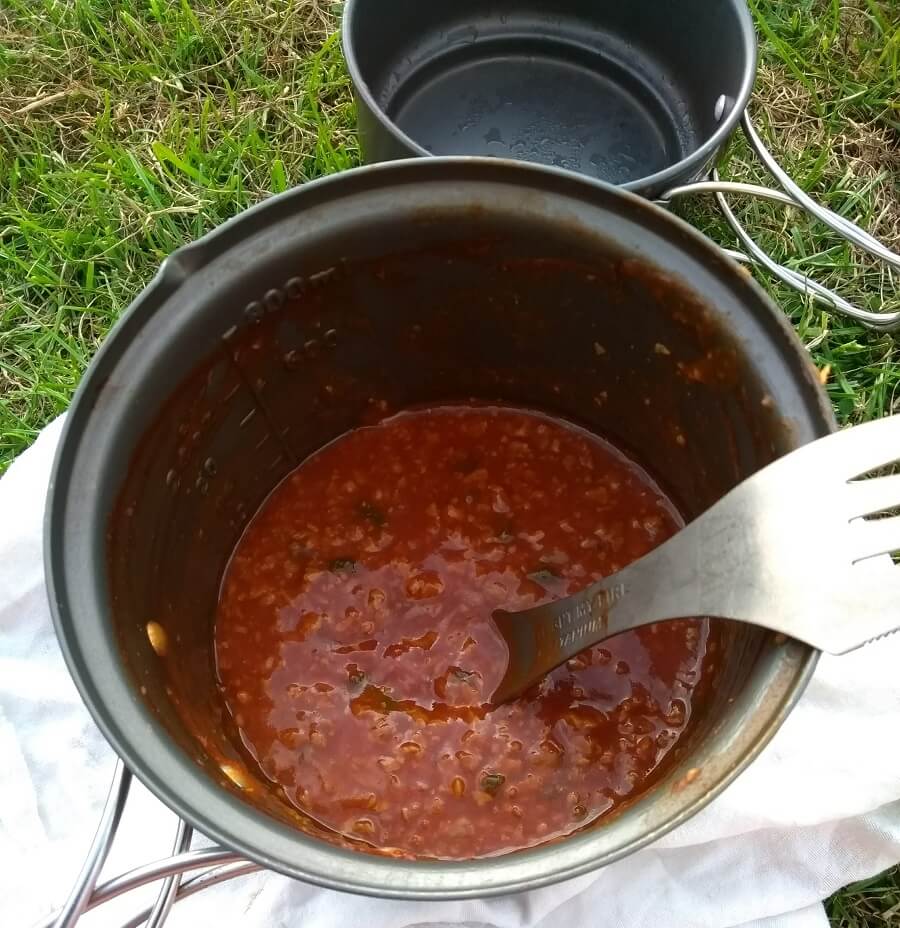
When alcohol stoves are lit and burning for a few moments, the alcohol will start to boil and turn into gas. This is the best time to put on your cooking pot or skillet to cook since the alcohol is at its hottest and will start the cooking process fastest. If you’re cooking with a Trangia stove you can put it on as soon as it’s lit.
Extinguishing and clean up
Extinguishing alcohol stoves can be best done by snuffing them out. The lack of oxygen will cut the flame and snuff it out. With several different Stove options, a snuffer is included, making your life easier. Another option is to make one from a soda can or other non-flammable material.
Blowing alcohol stoves out is sometimes another handy way of extinguishing alcohol stoves. However can be quite dangerous, blow too hard, and risk splashing still-lit alcohol stove fuel over yourself or others. But this is not likely since it is contained within the stove. Better choose the safe way and go for a snuffer to extinguish the flame. In a pinch, your cooking pot or lid can also work to snuff the Alcohol stove out. Letting an alcohol stove burn out on its own is for many stoves still the best way, and with practice also becomes a lot easier to fill it up with the amount of fuel needed.
Clean-up and maintenance with Alcohol stoves are virtually none existent. You can store the Alcohol fuel in Trangia stoves for a long time without damaging anything. Other alcohol stoves without a lid can be drained of remaining fuel, once properly cooled off of course, and any excess alcohol can be poured right back into your fuel bottle.
Fuel storage and safety
Fuel storage with Alcohol stoves is an easy task that has one major warning. Never put Alcohol stove fuel in metal containers or bottles! Alcohol eats the metal away and causes corrosion. So stick with plastic bottles for the best results.
Fuel storage bottles could include small PET bottles, so recycled Cola bottles, or anything like that. Or get one of those pop-top squeeze bottles used for oils in the kitchen. Not only are they easier to fill your alcohol stoves up with, but they are also less likely to cause spills. Which waste sometimes precious fuel on hiking trips.
Safety with alcohol stoves is a lot of common sense. You are dealing with a flammable liquid that can spill. So be careful not to knock alcohol stoves over or be rough with them while burning. This can cause major accidents and nasty injuries. Always make sure your alcohol stove is on a level hard surface, that cannot set on fire. And be careful when putting on your cooking pot.
During daylight, you cannot see the flame from alcohol stoves with most fuel types. So don’t put your face over it to check if it’s burning or not. Use your hand from a safe distance while not wearing your ultralight clothing. Or take a sprig of grass and hold it over the stove to check if it’s lit.
How to use an Alcohol stove in winter
Using an Alcohol stove in winter is often not the best use case for them. Other stove types are more efficient and require less time to heat up a meal. If you live in a mild climate you can in most cases get away with using an Alcohol stove in winter. When hiking in the mountains or colder areas with higher elevation you can best take a different stove option. A Fancy Feast stove is an exception to this rule and can be used with lower temperatures than many other Alcohol stoves.
Since most hikers will use their alcohol stoves during the hiking season which typically lasts from May until September, this will not be an issue for many.
Conclusion
In conclusion, alcohol stoves are great fun to use and often a solid choice for taking with you on hiking trips. Are they the absolute best option out there for every type of hiking trip? Yes and No. For most hikers who are starting or are used to a different method of cooking, they can be a little more trouble. And will need a bit more practice and experience to cook comfortably.
But as with everything related to hiking, a lot of personal preference is involved. On shorter trips or hiking trips in the Netherlands or Germany, alcohol stoves are my go-to. On longer trips or thru hikes when the need arises I often take either my Kovea gas stove or MSR Pocket Rocket 2. Gas stoves are on some hiking trips just a bit easier to use, and can be controlled far more precisely than the heat output of an alcohol stove.
If you want to read more about alcohol stoves I recommend taking a look at my Gear Reviews category, I regularly post new content regarding them there.
What is your favorite Alcohol stove setup? Share down in the comments!
Frank
I'm Frank, the main guy and owner of this website. Loves hiking, gear and bushcraft. And can get quite nerdy about them. In the woods several times a week preparing for my next hike. Always searching for another hill, which is quite difficult in the Netherlands. That's why I search around several countries. More about me on the about page.


3 Comments
David Wilson
Great, informative article. Spot on. Cheers.
Kurt whitford
I just built a DIY pop can alcohol stove. When I lit it off the first time, it worked well, except there was a small spot where the two cans did not fit snugly. As the stove heated, a flame can out from the spot. After the alcohol was consumed and the stove cooled, I used a thin strip of self-adhesive metal tape (the kind used in HVAC work) to seal the seam. I then added about 2 ounces of alcohol to the stove, spilling a little on the sides to prime it. Within 2 seconds of lighting it, the top can shot off, rising 10 feet into the air and landing 10 feet from the bottom can. Any idea what happened?
Frank
Hey Kurt,
Sounds to me like there was to much pressure built up within the stove. Add more burner holes. Or give the Fancy Feast stove a try, you can find the article for that on my website.
Cheers,
Frank