Stuffing and storing a down sleeping bag
After buying your sleeping bag you want to know the steps for storing and stuffing it. This is important to learn for the life of your down sleeping bag and storage space in your backpack.
Lets get into the steps
Stuffing or rolling your down sleeping bag
This can be short and sweet, do not roll your down sleeping bag while on trail. Always stuff the down sleeping bag. This is for a couple of reasons.
Its easier and faster than rolling your sleeping bag. Once you get the technique down, stuffing a down sleeping bag is way faster than rolling it. Same thing goes for a lot of items in backpacking. With practice you can set up an take down your campsite in a few minutes. If you do this day in and day out you can get very fast at this.
Rolling a sleeping bag causes the material inside (the down) to always get pushed in the same directions. This will eventually create empty spots in your sleeping bag where the down is forced to one side. More expensive down sleeping bags have compartments to combat this in a way. But the same still holds true. Even with synthetic sleeping bags the same rules apply.
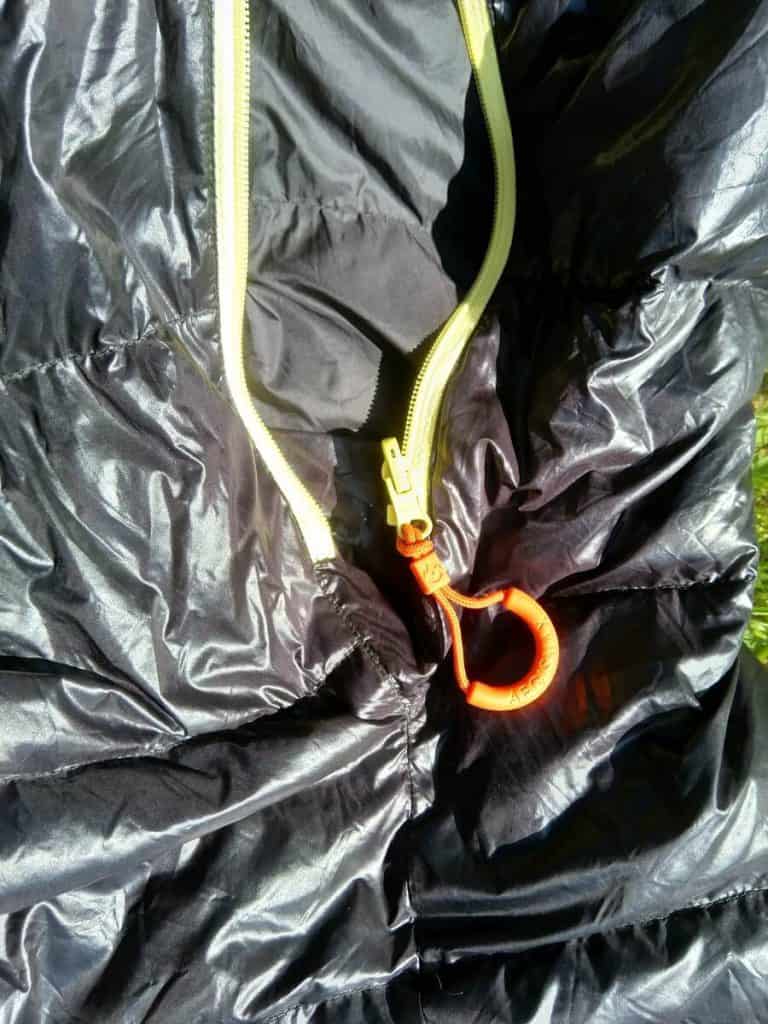
Step 1, unzip the zipper all the way.
This is important to preserve the zipper, when completely undone it cant be damaged while stuffing or storing. Lateral pressure can split the zipper and cause damage to the teeth. Unzipping it all the way makes sure that it can move freely during stuffing and storing.
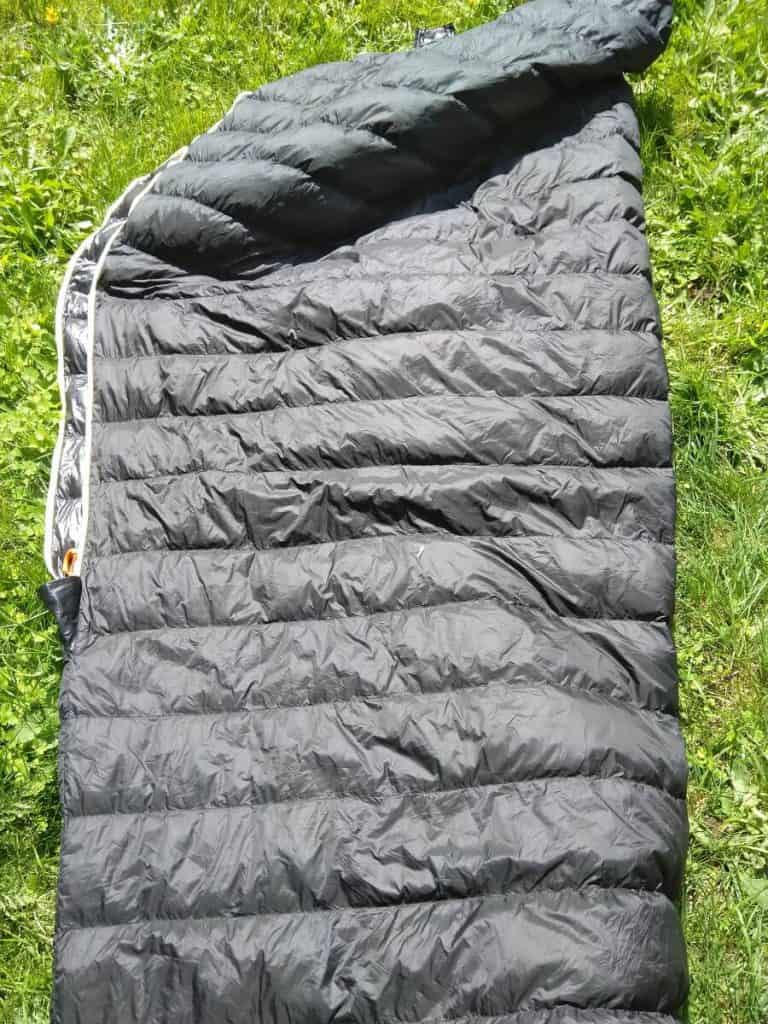
Step 2, Turn the sleeping bag inside out.
Turning the down sleeping bag inside out makes sure that the material does not get bunched up the wrong way. Plus it further protects the zipper. The material on the inside is in pretty much any case less slippery than the outside. Otherwise your working against yourself further along with the stuffing of the down sleeping bag.
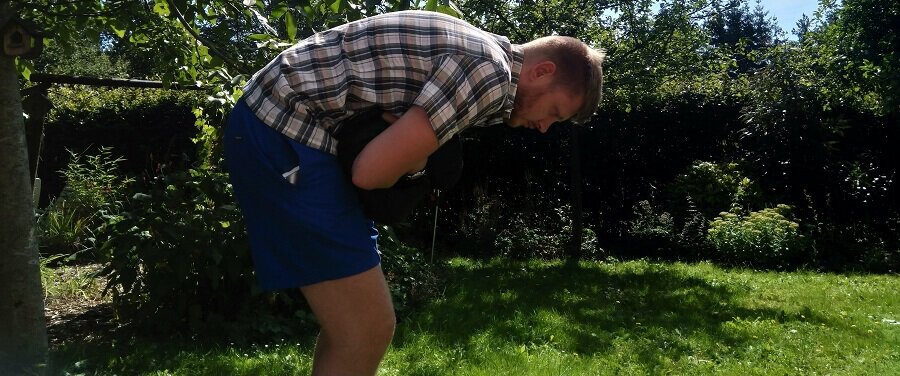
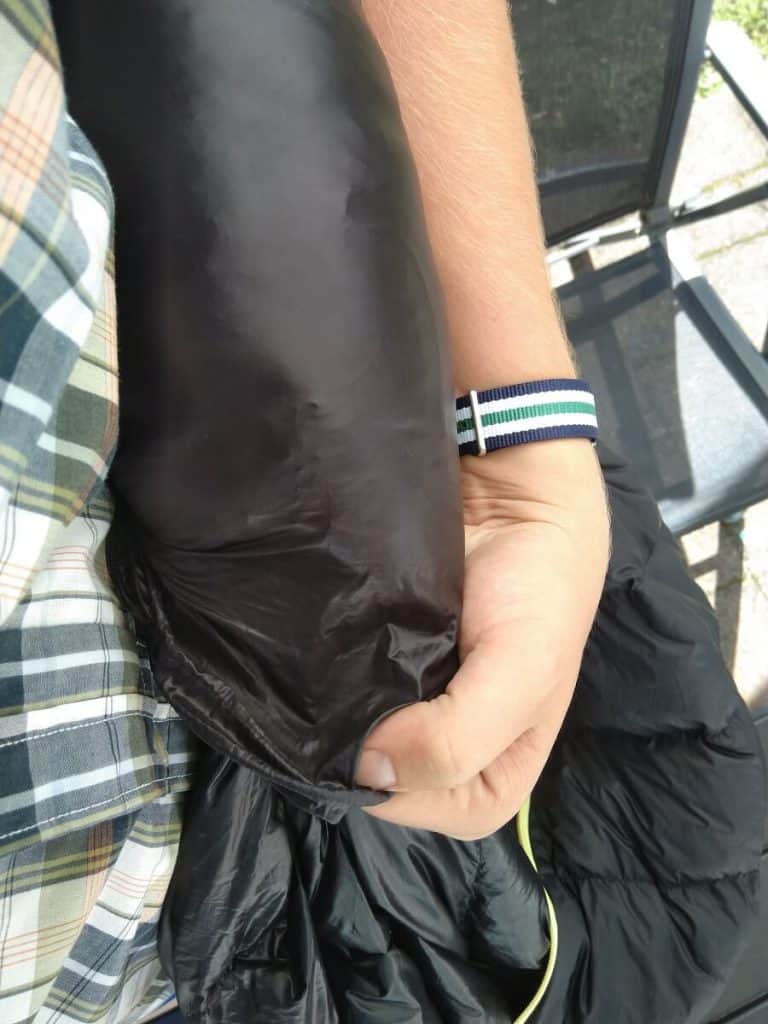
Step 3, deflate the sleeping bag as much as possible beforehand
Hug the down sleeping bag close to your body as to get as much air out of it before trying to stuff it. I always put it against my stomach and bend over with arms over it. This way the actual stuffing becomes much easier to do. And also avoid putting, again, to much stress on the material.
Step 4, Start stuffing with the foot box first under your arm
The first part of the stuffing of the sleeping bag is easiest. Get as much material in the compression sack and as tight as you can get it. This will make the final bit quicker. If your getting stuck on the same side rotate it as your stuffing to make the compression sack even with the sleeping bag.
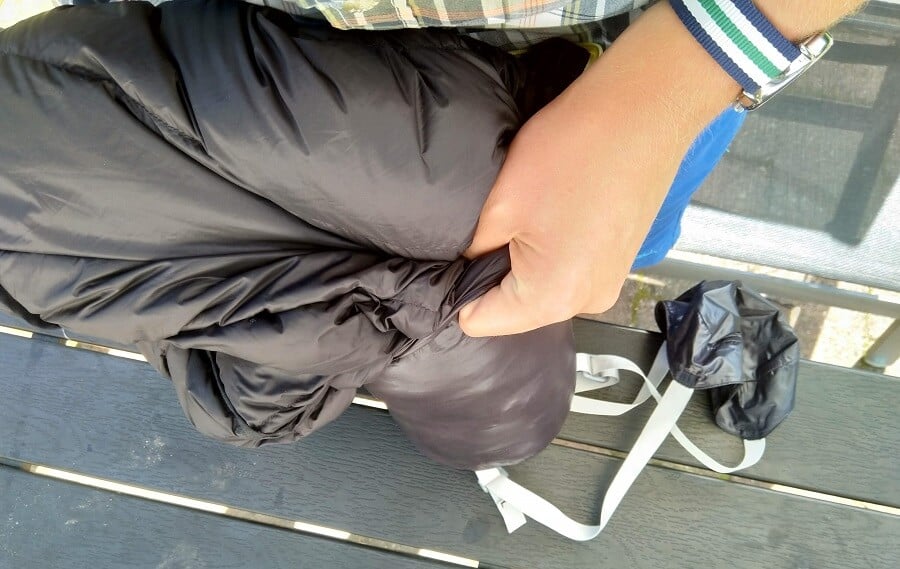
Step 5, put the sleeping bag on a hard surface to complete the stuffing
To get the last part in put the bottom of the compression sack on a hard surface. In my case a picnic table, you can do this everywhere. Just make sure to check if there aren’t any sharp stones or sticks underneath. If your carrying an ass pad this will be the place your doing it on.
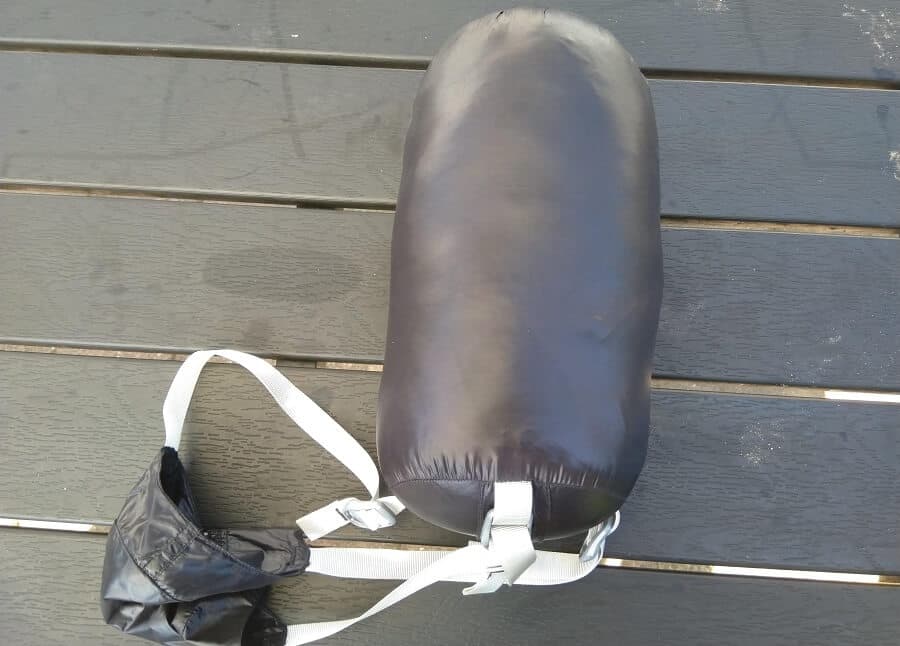
Step 6, Finish up stuffing the sleeping bag
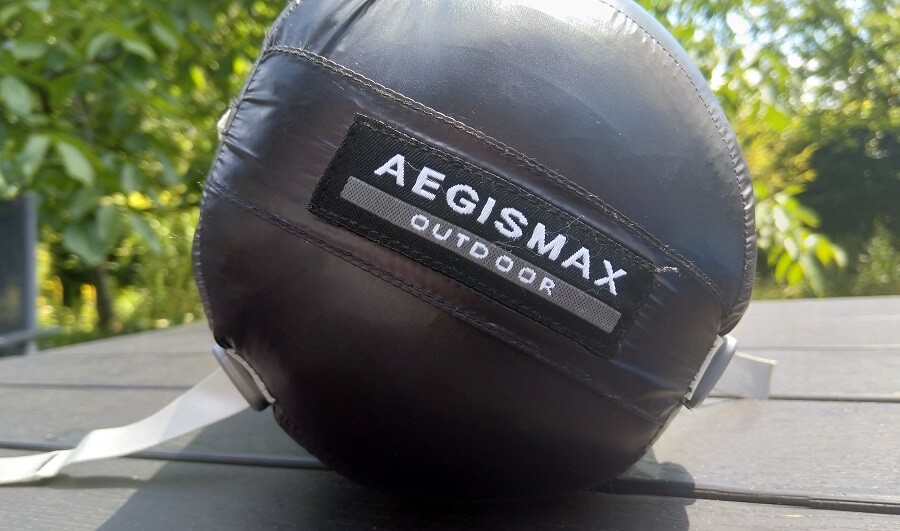
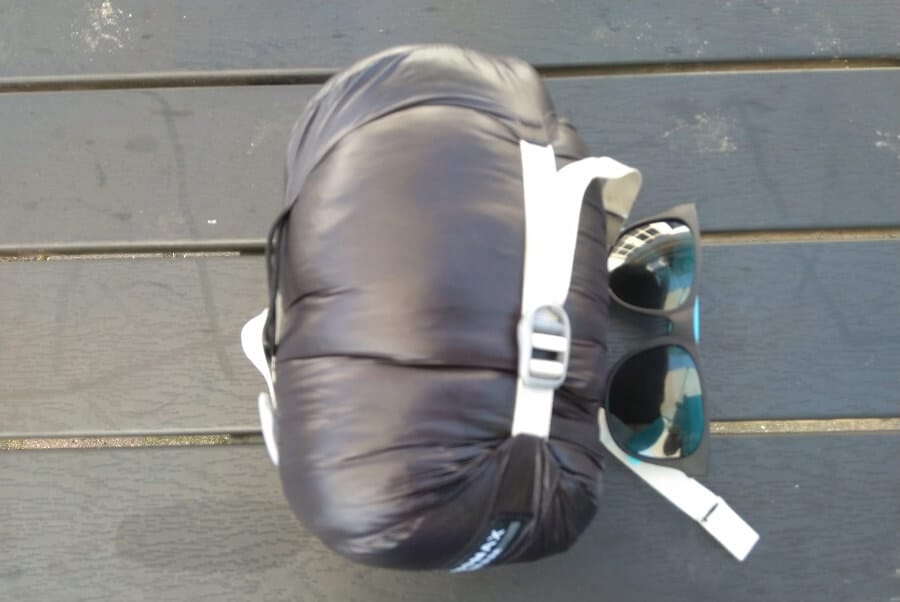
Once completely inside the stuff sack you can pull on the draw string to close it all the way. Next if your stuff sack comes with compression straps (Which it should) you can pull over the cover and compress it even further. You can see that my Aegismax Ultralight sleeping bag compresses very small. Sunglasses for scale.
End of steps
Now you can store the sleeping bag in your backpack to hike another day, sleeping bags are usually stored at the very bottom of your backpack. Thanks to the size of my down sleeping bag I can fit my sleeping pad, sleeping bag and sleeping bag liner all in the bottom compartment of my MacPac backpack. This comes in handy.
Storing your Sleeping bag for the long term at home
Long term storage is basiclly the same as on trail storage. The mayor difference is that you do not compress the sleeping bag in any way. With almost every sleeping bag you get a loose sack made of breathable material to store your sleeping bag at home.
Loosely put the sleeping bag inside with the zipper opened all the way and inside out. Store in a stable temparure place away from any vermin that can get into it. Garden shed is not an option. Would be a shame if your sleeping bag gets eaten up by some mice.
Further care for your down sleeping bag
At some point hanging the sleeping bag out in sunshine wont quite cut it anymore for cleanliness. You will have to wash it out to make sure the sleeping bag is at its full potential again. A down sleeping bag can be washed in a washing machine with tennis balls inside. This makes sure the material is still fluffy when dried again. I suggest looking up on YouTube for all the steps necessary for this.
If you want to let this be washed by a professional then contact your outdoor supplier. Most of the bigger chain stores will have a service for this. In my experience this can be quite costly and is usually around 50 to 75 euros or dollars. You should compare the cost of the overall sleeping bag to the cost of the wash.
When washing with an outdoor supply store you have the option to get it stuffed again with a new load of down. This can further the lifespan of your down sleeping bag and can be a good option for the more expensive sleeping bags. Talk to your nearest outdoor store to get the latest prices and advice for your particular sleeping bag.
If you have any further questions about the process or would like to see some more content like this contact me below or in the comments.
For now happy hiking and hike for a purpose!
Frank
I'm Frank, the main guy and owner of this website. Loves hiking, gear and bushcraft. And can get quite nerdy about them. In the woods several times a week preparing for my next hike. Always searching for another hill, which is quite difficult in the Netherlands. That's why I search around several countries. More about me on the about page.